Original Steps Provided by the User (for reference):
- Go to the official conversion website:
https://imageconverte.com/ - Select “Choose File”.
- Select the image you want to convert.
- Under “Output format,” choose “ICO.”
- Select “Convert.”
- The “Download Converted Image” button will appear at the bottom.
Introduction:
The ICO format, short for Icon File Format, is highly specialized, primarily used for creating favicons (the small icons displayed in browser tabs and bookmark lists) or desktop application icons on Windows. Converting a standard image like a JPG or PNG into an ICO file often requires specific multi-resolution capabilities that generic tools lack. However, a dedicated online converter simplifies this task instantly. This step-by-step guide walks you through a quick, six-point process to change your image to the essential ICO format, ensuring high search engine visibility and a seamless technical workflow.
Why Use ICO? (A Quick SEO Note):
The ICO format is critical for website branding. A properly sized and implemented favicon—which uses the ICO format—improves user recognition, browser tab organization, and overall site professionalism, contributing to better user experience signals valued by Google.
6 Quick Steps to Convert Your Image to the ICO Format
Forget complex design software. We’ll use an efficient, specialized online platform to transform your standard image into the multi-resolution ICO file needed for favicons.
Step 1: Navigate to the Icon Conversion Tool
Start by accessing a reliable online file conversion service dedicated to image formats. Open your browser and go directly to a platform like https://imageconverte.com/ (or another trusted, high-speed conversion site). This action ensures you begin the process with the correct, specialized interface.
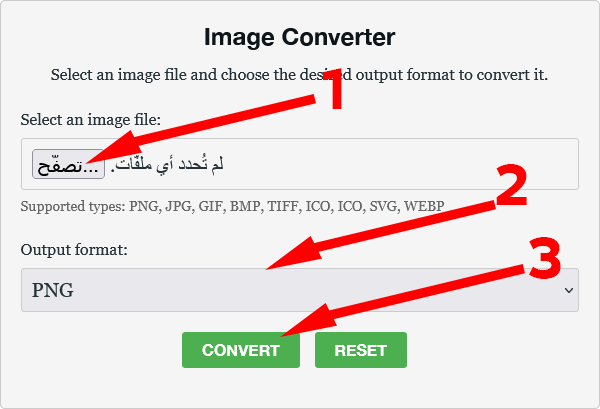
Step 2: Initiate the Upload Process
On the tool’s main page, locate and click the primary upload prompt, typically labeled “Choose File” or “Select Image.” This will trigger your computer’s file explorer, allowing you to browse your local storage for the source image.
Step 3: Select Your Source Image
Navigate through your folders and select the specific picture or logo you wish to convert into an ICO. The image file (whether it’s a detailed PNG or JPG) will be uploaded quickly to the platform, preparing it for the icon-specific processing.
Step 4: Specify the Output Format (The Icon Standard)
This step is vital for creating the correct file type. Locate the settings area, commonly labeled “Output format” or “Target Format.” From the list of options, you must explicitly choose the ICO format. This selection ensures the resulting file contains the necessary multi-resolution layers for a successful favicon.
Step 5: Execute the Conversion Command
With the image uploaded and ICO selected as the final file type, click the main action button, usually marked “Convert.” The online engine will now process the image, generating the specialized ICO file. This process is typically very fast, even when creating multiple icon resolutions.
Step 6: Download Your New ICO File
Upon successful completion, the page will refresh or display a notification. Locate and click the final button, generally labeled “Download Converted Image.” Your newly created, ready-to-use ICO file will be saved directly to your device, ready to be used as a favicon or desktop icon.
Leave a Reply